How to Pull Your Own Parts at a New Orleans Junkyard
Ask AI About Pull-A-Part
TO TURN YOUR JUNK CAR INTO CASH
Get the phone number to a location near you by enterging your zipcode.
Find a Local Junkyard
ALABAMA
ARIZONA
COLORADO
FLORIDA
GEORGIA
INDIANA
KENTUCKY
LOUISIANA
MISSISSIPPI
NEW MEXICO
NORTH CAROLINA
OHIO
PENNSYLVANIA
SOUTH CAROLINA
TENNESSEE
TEXAS
Pull-A-Part | August 7, 2026
How to Pull Your Own Parts at a Self-Service Junkyard in New Orleans
Pulling your own parts is simpler than it looks. You find a donor vehicle in the online inventory, bring your own tools to the yard, pay a small admission fee, walk the rows until you find the car, and take the part off yourself. At the register you pay a set price for that part, and the price is tied to the part itself rather than to the make, model, or year of the car it came out of. That one pricing rule is why a trip to a self-service junkyard in New Orleans West can turn a several-hundred-dollar repair into something far smaller, as long as you can unbolt the part yourself.
Two things trip up most first-timers: showing up without the right tools, and spending an hour pulling a part that was never going to fit. This walkthrough covers how the yard actually works, what to pack, how to size up a used part before you commit to it, and the beginner mistakes worth skipping on your first visit.
How a self-service junkyard works
A self-service yard is not a parts counter. Pull-A-Part inventories vehicles , not individual parts, because customers are removing pieces from those cars all day long. That means nobody can tell you over the phone whether a specific alternator is still on a specific car. The phone system is automated, and staff aren't out in the rows checking. Whether the part is still there, and what shape it's in, is something you confirm with your own eyes.
Cars sit up on stands so the underside is reachable, which is why you never need a jack. Vehicles generally stay on the yard somewhere in the 60-to-90-day range before they're pulled and recycled, so the selection turns over steadily. One thing to know up front: you can't buy a whole car off the display yard. Those are salvage vehicles, and only the parts from them are for sale.
Getting in is straightforward. Admission at the Peters Road yard in New Orleans West is currently $2, or $1 with a free VIP Club card, and veterans and service members get in free with proper identification. You must be at least 16 to enter the yard, which is an insurance requirement, so bring photo ID. Everyone signs a liability waiver at the counter. The scheduling detail that matters most: yard admission closes 30 minutes before the store closes. Retail stays open a little longer so you can check out, but you won't be admitted back into the rows.
Check the inventory before you make the drive
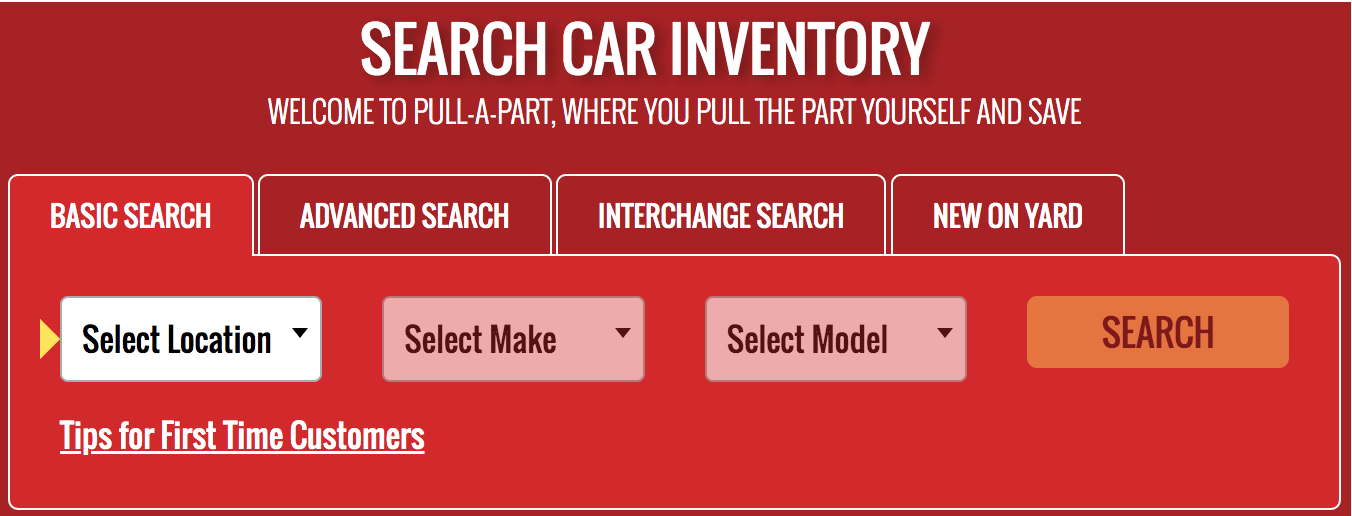
Start online. You can search the vehicle inventory by year, make, and model and filter it to the New Orleans West yard. Listings refresh nightly, and a "new on yard" view shows what was set out in the last 24 hours, 48 hours, or week. Write down the row and stock number for every candidate car. The yard is laid out in marked sections and numbered rows, and having two or three backups on your list beats driving out for a single car that's already been picked over.
If your exact year and model isn't listed, don't give up yet. The parts interchange tool shows other vehicles that used the same component, which often opens up several model years or a sibling model from the same manufacturer. If nothing matches at all, set up a Notify Me alert and you'll get a text or email when a matching vehicle arrives.
It's also worth reviewing the posted parts pricing so you know the number before you invest the labor. And know what won't be out there. Batteries, airbags, catalytic converters, mercury switches, and all fluids are removed during intake, and the air conditioning refrigerant is evacuated before a car goes on the yard. Tested batteries that are still good are sold at the front counter instead. Keys are usually long gone, and odometer readings aren't recorded, so treat mileage as unknown.
What to bring, and what you can't bring
You supply the tools, so plan on packing everything the job could need. The yard surface is loose gravel rather than pavement, which matters for footing as much as for fasteners.
A starter kit that covers most jobs
- A 3/8-inch ratchet with metric and SAE sockets in both shallow and deep, plus a set of extensions and a universal joint
- Combination wrenches and at least one breaker bar for seized bolts
- Screwdrivers plus Torx and hex bits, which show up constantly on interior and body fasteners
- Plastic trim tools or panel poppers if you're touching anything inside the cabin
- Pliers, side cutters, and locking pliers
- Penetrating oil, applied early so it has time to work while you set up
- A cordless impact driver and a charged spare battery
- Gloves, safety glasses, long pants, and closed-toe boots
- A drain pan or bucket, shop rags, and a trash bag for greasy hardware
- A marker, a tape measure, and your phone for reference photos
- Cash or a card, plus water
What isn't allowed
Torches, grinders, and jacks are not permitted on the yard, and neither are loose lead-acid batteries or full gas cans. Battery-powered tools, jumper boxes, and a small generator or compressor you can carry by hand are fine. Spare fuel containers aren't, so fill the generator before you leave the house. Planning around a cutting torch is the single most common reason a first trip gets cut short, so build your approach around unbolting rather than cutting.
One more rule that catches people: you can't work on your own vehicle anywhere on the property, including the parking lot. Buy the part, take it home, and do the installation there. The store policies page spells out the full list if you want to review it before you go.
What the yard provides
Wheelbarrows are free, so grab one on the way in rather than carrying an armload of parts back down the row. For an engine or transmission, the store supplies an A-frame and hoist to help with the removal and a lift to move the assembly out to the exit. Ask an employee before you start rather than after you're stuck. And if you'd rather not do the work at all, there's a part-pulling service that covers a limited list of parts for an added fee. The list and the fees change, so ask at the counter what's available.
How to inspect a used part before you pull it
This is the skill that separates a productive trip from a wasted one. Ten minutes of inspection saves an hour of wrenching and a return trip.
Confirm fitment before you touch a bolt
Year, make, and model get you close. Trim level, engine, and drivetrain get you the rest of the way. A part that fits a four-cylinder front-wheel-drive version of a car frequently won't fit the V6 all-wheel-drive version of that same car in that same year. Before you leave home, photograph the part number stamped or labeled on your old part, along with the vehicle information sticker in your driver's door jamb and any underhood emissions or engine label. On the yard, compare the donor car's labels and part numbers against your photos. If the numbers differ, look at the mounting points, connector shape, and pin count carefully before deciding it's still a match.
Read the donor car before you trust its parts
Walk the whole vehicle before you start on one corner of it. A hard front-end hit is a reason to be skeptical of anything forward of the firewall, including radiator supports, headlight brackets, and control arms that may be subtly bent. A rear impact does the same for trunk hardware and rear suspension pieces. If you see a silt line, mildew staining, or green corrosion on connectors under the dash, skip that car's electrical and interior parts entirely and move to the next one on your list.
Checks worth running by part type
- Electrical and electronic parts: look for bent, pushed-back, or corroded terminals in the connector, cracked or melted housings, and chafed wiring where the harness passes through a bracket. Damaged locking tabs on a connector are a small detail that becomes a big annoyance during installation.
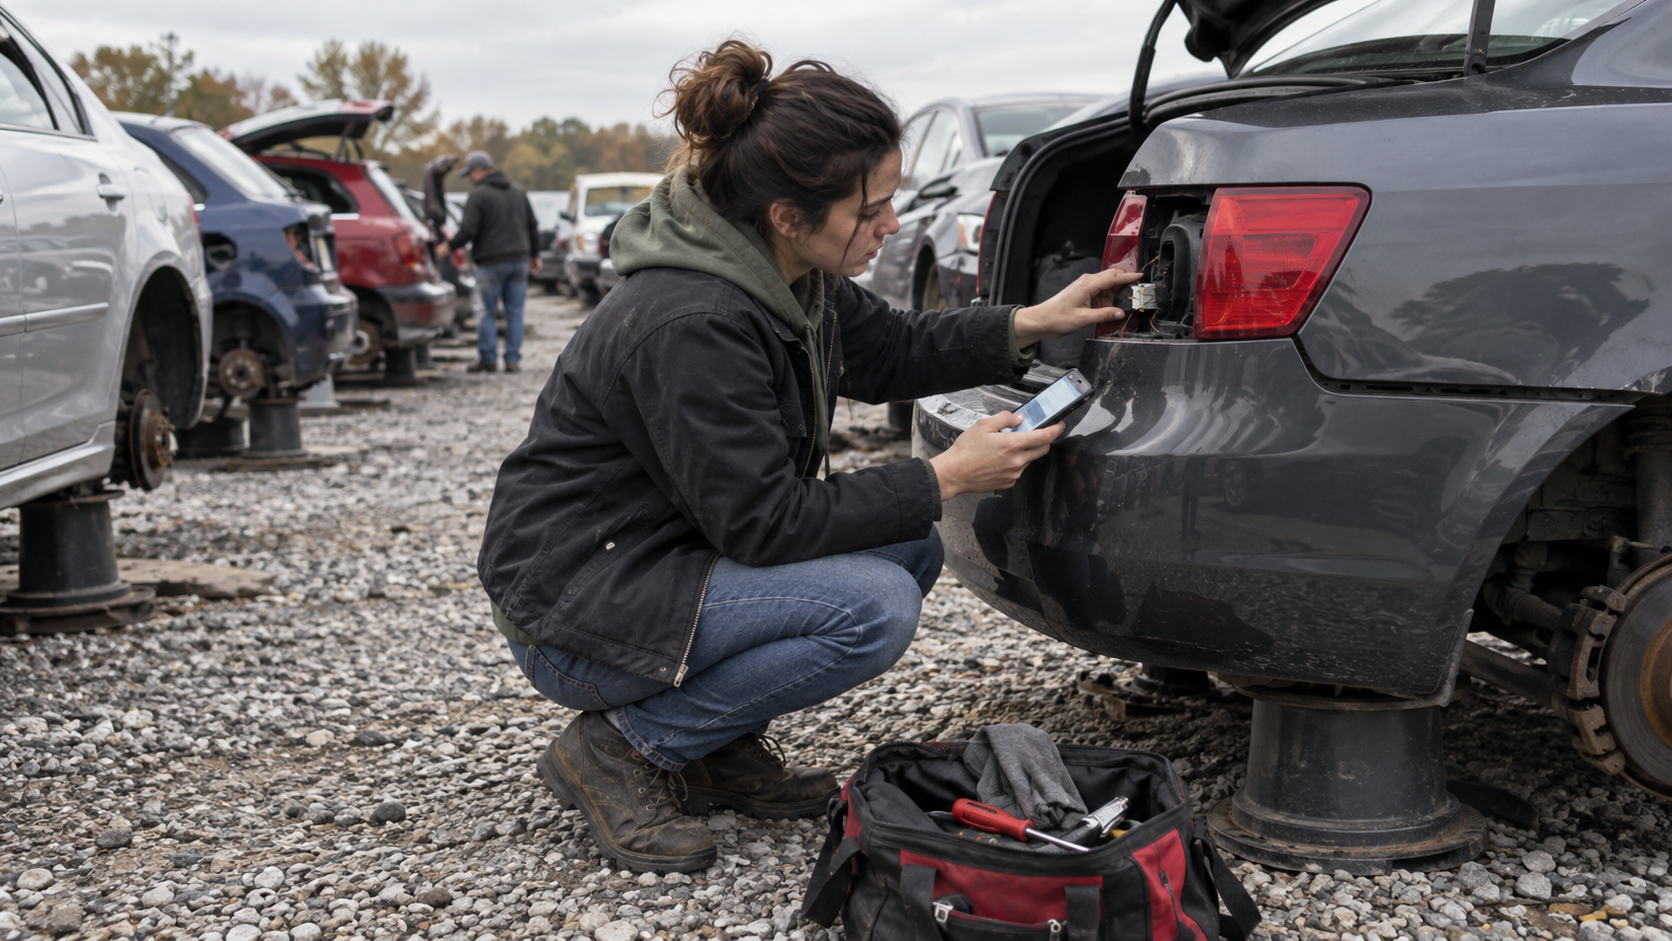
- Rotating parts: spin alternator, idler, and tensioner pulleys by hand. You want smooth and quiet, with no roughness, wobble, or side-to-side play. Grab wheel hubs at twelve and six o'clock and check for movement.
- Body panels and doors: run your hand along the inside surface and lower edges, where rust starts before it shows on the outside. Check the paint code on the door jamb sticker against yours, and sight down the panel from one end to spot ripples that a straight-on look hides.
- Glass: inspect the edges for chips and check for delamination or a cloudy haze at the perimeter. Look through it at a shallow angle, where distortion and scratches show up.
- Seats and interior trim: work the recliner and the seat track through their full travel, check the mounting points and frame welds, and press into the foam to feel for dampness. Note that airbags aren't sold, though side airbags come with certain seats.
- Wheels and tires: tire size interchanges widely, but bolt pattern and offset often don't, so measure rather than assume. Check tread depth across the full width for uneven wear, and read the DOT code on the sidewall. The last four digits are the week and year of manufacture, so 3218 means the 32nd week of 2018. Age matters even on a tire with good tread.
- Radiators, condensers, and coolers: look for crushed or corroded fins, dents in the end tanks, and dried coolant or oil residue around the seams, which points to a leak that was already happening.
Photograph as you disassemble
Take pictures before and during removal: hose routing, bracket orientation, which bolt came from which hole, and how the harness was clipped down. On a job you'll finish days later in your own driveway, those photos are worth more than any diagram you'll find online.
Your first visit, step by step
- Search the inventory the night before and note the stock and row numbers for two or three donor vehicles.
- Look up what the part costs so there are no surprises at the counter.
- Pack your tools, charge your batteries, and throw in penetrating oil and a breaker bar even if you don't think you'll need them.
- At the counter, sign the waiver, pay admission, and ask about a free VIP card if you plan to come back. It lowers admission and keeps your receipts and warranty information available online.
- Grab a wheelbarrow and use the yard map and row markers to walk directly to your car instead of wandering.
- Inspect first. Confirm fitment, read the donor vehicle, and check the part before you break a single bolt loose.
- Pull cleanly. Unplug connectors by releasing the tab instead of yanking, and take the brackets, bolts, clips, and grommets that belong with the part while you're already there.
- Check out and keep your receipt. Most parts carry a 30-day warranty with the receipt, tires and wheels carry a shorter one, and an extended warranty is available on some parts for an added fee. Expect an environmental fee at checkout, and ask whether your part carries a core charge, which is a refundable deposit returned when you bring the old unit back. If you bring your old part in at the time of purchase, you can avoid paying the core charge at all.
Beginner mistakes worth skipping
- Treating an inventory listing as proof the part is there. The listing means the car is on the yard, not that the alternator still is.
- Arriving 20 minutes before closing and finding out admission already shut.
- Packing a jack or a torch and having to leave them in the truck.
- Skipping the trim, engine, or drivetrain check and pulling a part that bolts to nothing.
- Cutting a harness instead of unplugging it, which turns a bolt-in repair into a splicing project.
- Leaving without the small hardware. Brackets, bolts, and clips are the pieces you'll wish you had at ten o'clock at night.
- Losing the receipt. Without it there's no return or exchange, and there's no warranty claim.
- Only bringing one car on your list, so a single picked-over vehicle ends the trip.
- Planning to swap the part in the parking lot, which isn't allowed anywhere on the property.
When the part isn't worth pulling
Sometimes the honest answer is that the repair has outgrown the car. If the vehicle has a failing transmission, serious frame or flood damage, or a running list of problems that keeps growing, a $40 part isn't going to change the math. In that case it's usually worth finding out what it's worth as-is and getting cash for the car instead of putting more money into it. After a sale in Louisiana, you can file a Notice of Vehicle Transfer with the Office of Motor Vehicles so your record reflects that the vehicle is gone. Requirements and paperwork can vary with your situation, so confirm the current process with the OMV directly.
If you end up needing a replacement, you can also shop for an affordable used car at New Orleans West. Inventory changes constantly, and an inexpensive vehicle still deserves the same scrutiny you'd give any used car, so plan on a test drive and your own inspection before you commit.
Making your first trip count
Pulling your own parts rewards preparation more than experience. Look up the car before you drive out, bring more tools than you think you need, inspect the donor vehicle before you inspect the part, and take the hardware along with the component. Do those four things and the first trip goes about as smoothly as the tenth. The skill that takes longest to build isn't wrenching — it's learning to spot, in the first two minutes, which cars on your list are worth your time and which ones to walk past.